In this tutorial, we will walk through the process of creating a simple web application that leverages the Clipdrop API to perform image upscaling. The application will allow users to upload PNG, JPG, or WebP format images, send them to the Clipdrop API for upscaling, and save the result locally. We will use HTML for the front end, JavaScript for handling form submissions via AJAX, and PHP for processing the API calls and saving the upscaled image.
Table of Contents
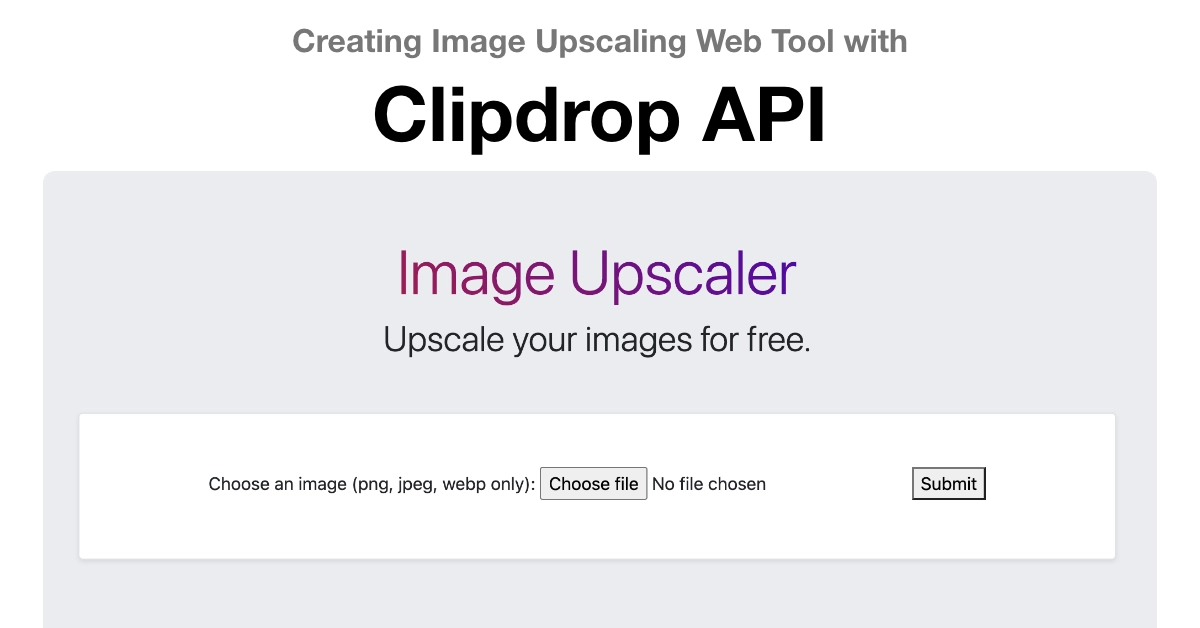
Please comment if you face any problem in implementing the code or if you want the complete code, as shown in the image above, in a zip file so that you can start right away.
Clipdrop API Image Upscale Web App Tutorial
Prerequisites:
- Basic knowledge of HTML, JavaScript, and PHP.
- Clipdrop API key.
How to create clipdrop api key.
Step 1: Set Up Your Development Environment
Before starting, make sure you have a web server environment with PHP support. You can use tools like XAMPP or MAMP for local development.
Step 2: Create the HTML Form
Create an HTML file (e.g., index.html) with a form that allows users to upload images. Restrict the accepted file types to PNG, JPG, and WebP.
<!DOCTYPE html>
<html lang="en">
<head>
  <meta charset="UTF-8">
  <meta name="viewport" content="width=device-width, initial-scale=1.0">
  <title>Image Upscaling Form</title>
</head>
<body>
  <form id="uploadForm" enctype="multipart/form-data">
    <label for="image">Choose an image (PNG, JPG, or WebP):</label>
    <input type="file" id="image" name="image" accept="image/png, image/jpeg, image/webp">
    <button type="button" onclick="submitForm()">Submit</button>
  </form>

  <div id="result"></div>

  <script src="https://code.jquery.com/jquery-3.6.4.min.js"></script>
  <script src="script.js"></script>
</body>
</html>
Step 3: Implement JavaScript for Form Submission
Create a JavaScript file (e.g., script.js) to handle form submissions using AJAX. This script will send the image file to the PHP backend.
// script.js
function submitForm() {
  var formData = new FormData(document.getElementById("uploadForm"));

  $.ajax({
    url: 'upload.php', // Replace with your PHP file endpoint
    type: 'POST',
    data: formData,
    processData: false,
    contentType: false,
    success: function(response) {
      $("#result").html("Upscaled image saved. Response: " + response);
    },
    error: function(error) {
      $("#result").html("Error: " + error.statusText);
    }
  });
}
Step 4: Handle API Calls in PHP
Create a PHP file (e.g., upload.php) to handle the API call to Clipdrop, replace your_api_key with your clipdrop api key, save and start testing.
<?php
$apiEndpoint = 'https://clipdrop-api.co/image-upscale/v1';
$apiKey = 'your_api_key'; // Replace with your actual API key

$imageFile = new CURLFile($_FILES['image']['tmp_name'], $_FILES['image']['type'], 'image_file');

$ch = curl_init($apiEndpoint);
curl_setopt($ch, CURLOPT_POST, 1);
curl_setopt($ch, CURLOPT_POSTFIELDS, ['image_file' => $imageFile]);
curl_setopt($ch, CURLOPT_HTTPHEADER, ['x-api-key: ' . $apiKey]);
curl_setopt($ch, CURLOPT_RETURNTRANSFER, true);

$response = curl_exec($ch);

if ($response !== false) {
    $contentType = curl_getinfo($ch, CURLINFO_CONTENT_TYPE);
    $fileExtension = ($contentType === 'image/webp') ? 'webp' : 'jpg';

    $outputFilePath = 'upscaled_image.' . $fileExtension;
    file_put_contents($outputFilePath, $response);

    echo $outputFilePath;
} else {
    echo 'Error: ' . curl_error($ch);
}

curl_close($ch);
?>
Explanation of the upload.php file.
- Endpoint and API Key Setup:
$apiEndpoint: Specifies the URL endpoint for the image upscaling API.$apiKey: Your API key for authentication. It should be replaced with the actual API key.- Image File Preparation:
$imageFile: Creates aCURLFileobject representing the image file to be uploaded. It uses data from the$_FILESarray, which is a PHP superglobal containing information about file uploads.- cURL Initialization:
$ch = curl_init($apiEndpoint);: Initializes a cURL session with the specified API endpoint.- cURL Configuration:
curl_setopt($ch, CURLOPT_POST, 1);: Configures cURL to use HTTP POST method.curl_setopt($ch, CURLOPT_POSTFIELDS, ['image_file' => $imageFile]);: Sets the POST data to include the image file.curl_setopt($ch, CURLOPT_HTTPHEADER, ['x-api-key: ' . $apiKey]);: Adds the API key to the request headers.curl_setopt($ch, CURLOPT_RETURNTRANSFER, true);: Configures cURL to return the response as a string instead of echoing it.- API Request:
curl_exec($ch);: Executes the cURL request, sending the image file to the API.- Handling the API Response:
- If the response is not false (indicating success), it continues to process the response.
- Retrieves the content type of the response and determines the file extension based on it.
- Constructs an output file path and saves the upscaled image content to that file using
file_put_contents. - Echoes the file path.
- Error Handling:
- If there is an error in the cURL request, it echoes an error message containing information about the error.
- cURL Closure:
curl_close($ch);: Closes the cURL session.- In summary, this PHP script sends an image file to an upscaling API using cURL, processes the API response, saves the upscaled image locally, and provides the path to the saved image file or outputs an error message if something goes wrong.
Step 5: Test Your Application
- Start your web server.
- Open
index.htmlin a web browser. - Choose an image file and click the “Submit” button.
- Check the “result” div for success or error messages.
- Verify that the upscaled image is saved in the same directory.
Summary
Congratulations! You’ve created a simple web application that uses the Clipdrop API to upscale images. Feel free to enhance the application further, add error handling, and customize the user interface to meet your needs.